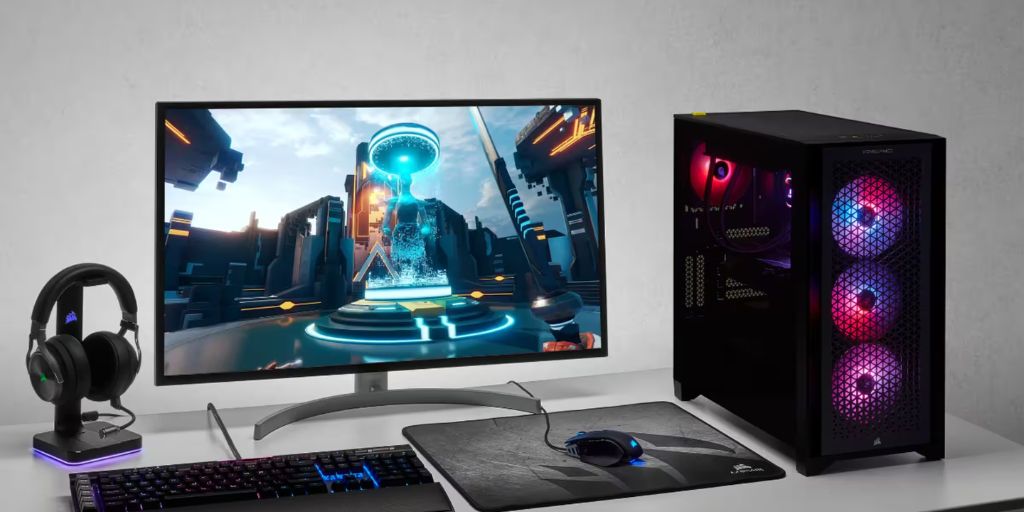
Building your own custom gaming PC might seem intimidating at first, but it’s one of the most rewarding projects you can undertake as a gamer. Not only do you get a powerful machine tailored to your exact needs, but you also save money compared to prebuilt options — and you learn valuable skills along the way.
In 2025, building a PC is more beginner-friendly than ever thanks to modular parts, helpful manuals, and a thriving online community.
This beginner’s guide will walk you through the process step-by-step, explaining the key parts you need, how to put everything together, and tips for making the experience smooth and successful.
Step 1: Choose Your Parts
Before you can start building, you need to pick your components. Here’s a breakdown of the main parts you’ll need:
-
CPU (Processor): The brain of your PC. AMD Ryzen and Intel Core series are top choices for gaming.
-
GPU (Graphics Card): Handles visuals and is crucial for gaming performance. NVIDIA GeForce RTX and AMD Radeon RX series are popular.
-
Motherboard: Connects all the parts. Make sure it matches your CPU (Intel or AMD chipset) and has the features you want (Wi-Fi, extra USB ports, etc.).
-
RAM (Memory): 16GB is the minimum for gaming in 2025; 32GB is even better for future-proofing.
-
Storage: Get a fast SSD (solid-state drive) for faster load times. Many gamers also add a secondary larger HDD for extra storage.
-
Power Supply Unit (PSU): Feeds power to your PC. Choose a reliable brand and get a unit with enough wattage (at least 650W for gaming PCs).
-
Case: Houses all your components. Choose one that fits your parts and has good airflow.
-
Cooling: Most CPUs come with stock coolers, but if you plan to overclock, a better air cooler or liquid cooler is smart.
-
Operating System: Most users opt for Windows 11 for gaming, though Linux is growing in popularity.
Pro Tip: Always check compatibility between your CPU, motherboard, and RAM. Websites like PCPartPicker (without direct links here) can help avoid mistakes.
Step 2: Gather Your Tools
Fortunately, you don’t need much to build a PC. Here’s what you’ll need:
-
A Phillips-head screwdriver
-
Anti-static wrist strap (optional but recommended)
-
A clean, spacious workspace
-
Good lighting
Before starting, ground yourself by touching a metal object to avoid static electricity that could harm components.
Step 3: Prepare Your Case
Start by opening your PC case. Most cases come with the side panels attached by a few screws at the back. Remove them carefully and set them aside.
You might also want to install fans (if your case didn’t come with them) at this point for better airflow.
Lay the case flat on your workspace — it’s easier to build this way, especially for beginners.
Step 4: Install the CPU, RAM, and Storage on the Motherboard
Install the CPU:
Take your motherboard out of its box and place it on a non-conductive surface (like the motherboard box itself). Open the CPU socket by lifting the latch. Line up the small triangle on the CPU with the triangle on the socket and gently place the CPU into the socket. Don’t force it! Once it’s seated, lower the latch to secure it.
Install the RAM:
Find the RAM slots. Open the latches and insert your RAM sticks. Make sure you hear a click, and that they’re properly seated. Check your motherboard manual to see which slots to use if you’re not filling all of them.
Install the SSD:
If you have an M.2 SSD (the tiny stick-shaped ones), locate the M.2 slot on your motherboard. Insert the SSD at an angle and gently press it down, then secure it with a screw.
At this point, your motherboard is “prepped” for installation into the case.
Step 5: Mount the Motherboard into the Case
Before you place the motherboard into the case, install the I/O shield (the metal plate that covers the ports) if it’s a separate piece. Snap it into place from inside the case.
Now carefully place the motherboard into the case, aligning it with the standoffs (small metal spacers). Use the provided screws to secure the motherboard. Don’t overtighten — just snug enough to hold it firmly.
Step 6: Install the Power Supply
Slide your PSU into the designated compartment (usually at the bottom or top rear of the case). Make sure the fan is facing the right direction — typically downwards if there’s a vent at the bottom.
Secure it with screws and leave the cables accessible for connecting later.
Step 7: Install the Graphics Card
Find the PCIe slot (usually the topmost one) on your motherboard. Remove the corresponding slot cover(s) on your case.

Align the graphics card with the slot and push it down firmly until it clicks into place. Secure it to the case with screws. Make sure to connect any power cables from the PSU to the GPU.
Step 8: Connect All the Cables
This part may look messy, but it’s just about matching the right plugs:
-
24-pin power cable to the motherboard.
-
8-pin CPU power cable to the top of the motherboard.
-
PCIe power cables to the GPU.
-
SATA cables if you have a 2.5″ SSD or HDD.
-
Front panel connectors (for the power button, USB ports, etc.) — refer to your case and motherboard manuals for the layout.
Take your time with cable management. Good airflow is essential for keeping your gaming rig cool.
Step 9: Install Cooling Systems (If Needed)
If you’re using an aftermarket air cooler or liquid cooler, install it according to its manual. Make sure you apply thermal paste properly (many coolers come with it pre-applied). Cooling is especially important if you plan on pushing your CPU and GPU with intense gaming or overclocking.
Step 10: Final Check and Power On
Before turning your PC on, double-check everything:
-
Are all power cables connected?
-
Are components seated properly?
-
Are there no stray screws inside the case?
-
Are all fans connected and oriented correctly?
Once confident, plug your monitor, keyboard, and mouse into your new machine and press the power button. If everything is connected properly, you’ll hear the fans spin and see the lights turn on.
If it doesn’t start, don’t panic. Double-check your power cables and connections — beginner builds often have small connection mistakes that are easy to fix.
Step 11: Install the Operating System and Drivers
Once you boot into the BIOS, set the boot priority to your USB drive that has Windows 11 or another OS installation media.
After installing your operating system, download the latest drivers for your GPU, motherboard, and other components. Installing these ensures your PC runs smoothly and delivers the best gaming performance.
You’re done! Now it’s time to install your favorite games and enjoy your brand-new, custom-built gaming rig.
Final Tips for Beginners
-
Plan Your Build: Know what games you want to play and at what resolution and settings.
-
Future-Proof: Spend a little extra on a better GPU or PSU to save money down the line.
-
Cable Management: It’s worth spending time on — it makes your PC look cleaner and improves airflow.
-
Take Your Time: Building a PC isn’t a race. Go slow, follow instructions, and double-check each step.
-
Stay Calm: Every builder makes mistakes. The important part is troubleshooting patiently.


