
Few things are more stressful than realizing your hard drive has failed, potentially taking important files, cherished photos, or essential work documents with it. Whether it’s due to physical damage, logical errors, or malware attacks, losing data from a hard drive can feel catastrophic.
However, in many cases, lost data can be recovered—sometimes surprisingly easily, other times with more advanced effort. This guide walks you through the steps to recover data from a damaged hard drive, covering everything from simple fixes to when it’s time to seek professional help.
1. Identify the Type of Hard Drive Damage
Before attempting any recovery, it’s crucial to understand the type of damage you’re dealing with:
-
Logical Damage: This involves software-related issues such as file corruption, accidental deletion, or malware infections. The drive is still physically intact but inaccessible or malfunctioning due to errors.
-
Physical Damage: This involves hardware failure, such as a broken read/write head, damaged platters, or electrical failures. Symptoms include clicking noises, grinding sounds, or the drive not spinning at all.
Correctly diagnosing the issue helps determine your next steps—and whether DIY recovery is safe to attempt.
2. Stop Using the Drive Immediately
Once you notice problems, stop using the hard drive immediately. Continuing to operate a failing drive can worsen the damage, especially if it’s physical. Disconnect the drive from your system to prevent further writes, which could overwrite recoverable data.
3. Check Connections and Power Supply
Sometimes, the issue isn’t with the drive itself but with the connection:
-
Try a Different USB Cable or Port: A faulty cable or USB port can make a healthy drive appear damaged.
-
Use a Different Computer: Plugging the drive into another system can help determine if the problem is with your computer rather than the drive.
This simple check can save time and unnecessary worry.
4. Use Built-In Tools to Scan and Repair
If the drive is still recognized by your computer, even intermittently, try using built-in operating system tools:
-
Windows: Run CHKDSK to scan for and repair errors. Open Command Prompt and type
chkdsk X: /f /r(replace X with your drive letter). -
Mac: Use Disk Utility to run First Aid on the disk.
These tools can sometimes repair corrupted file systems and restore access to your data.
5. Try Data Recovery Software
For logical damage or accidental file deletions, specialized data recovery software can work wonders. Some reliable options in 2025 include:
-
Recuva (Windows)
-
Disk Drill (Windows/Mac)
-
EaseUS Data Recovery Wizard (Windows/Mac)
-
R-Studio (Advanced, Windows/Mac/Linux)
These programs scan your hard drive for recoverable files and often offer a free trial that lets you see what can be retrieved before purchasing a full license.
6. Use an External Enclosure or Docking Station
If your hard drive is an internal one, removing it and placing it in an external enclosure or docking station can help access the data more easily.
This is especially useful if your computer’s motherboard or internal connections are suspect. External enclosures are affordable and widely available for both HDDs and SSDs, supporting interfaces like SATA or NVMe.
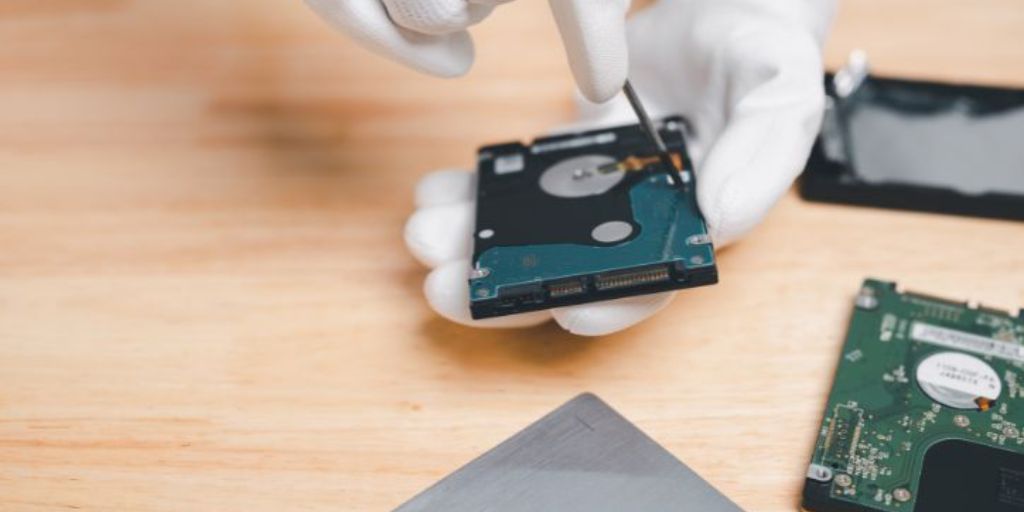
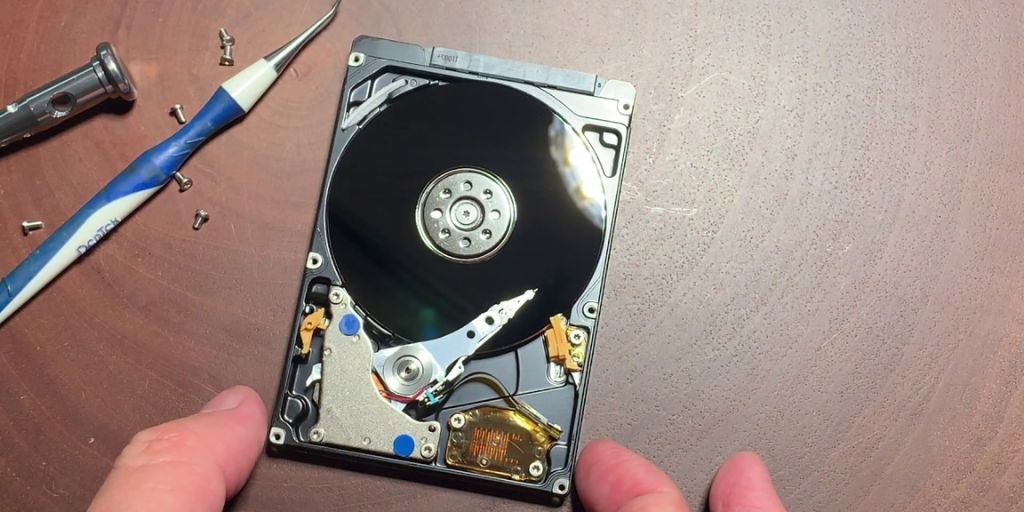
7. Handle Physical Damage with Extreme Caution
If you suspect physical damage—especially if your drive is making unusual noises like clicking or grinding—do not try to open the drive or repair it yourself. Hard drives are delicate, and any exposure to dust or improper handling can make recovery impossible.

Instead:
-
Seek Professional Data Recovery Services: Companies like DriveSavers, Ontrack, and Secure Data Recovery specialize in physical recovery using cleanrooms and advanced tools. While professional recovery can be expensive (often several hundred to thousands of dollars), it’s the best option when the data is critical.
8. Consider the Freezer Trick with Caution
You might have heard of the so-called “freezer trick,” where you place a hard drive in a sealed bag and freeze it for a few hours to temporarily shrink components and make it readable.
 How to Recover Lost Data from a Damaged Hard Drive
While there are anecdotal successes, this method is risky and not recommended unless you’re prepared to lose the drive entirely. Modern drives are less likely to benefit from this than older models.
9. Prepare for Next Time: Backup Strategies
Once you’ve recovered your data—or if you’re starting fresh—implement a solid backup strategy to avoid future heartbreak:
-
The 3-2-1 Rule: Keep three copies of your data—two on different local devices (like an external drive and your computer) and one offsite (cloud backup).
-
Cloud Backup Services: Services like Backblaze, iDrive, and Google One provide continuous cloud backups.
-
Automated Backup Software: Set up scheduled backups to external drives or NAS devices to protect your files automatically.
10. Know When to Let Go
Not all data is recoverable, especially if a drive has suffered severe mechanical damage or if the data has been overwritten. It’s important to manage expectations and understand that even with the best tools and services, some data may be lost forever.
Conclusion
Losing access to your hard drive can be terrifying, but in many cases, data recovery is possible if you act swiftly and wisely. By identifying the type of damage, using the right tools, and knowing when to call in professionals, you stand a good chance of salvaging your precious files.
And once you’ve navigated the recovery process, take it as a sign to bolster your backup practices to ensure you’re never caught off-guard again. In the digital world, an ounce of prevention truly is worth a pound of cure.